Cricut Setup: A Complete Guide for Easy Installation
A few days ago, I got a new Cricut machine. I have been using the older version, but I moved to the latest one because it has many incredible features. After a long time, I had to perform the Cricut setup. If you are a beginner and don’t know much about how to setup Cricut, you are in the right place!
I
have noticed among novice crafters that they are afraid to set up their Cricut
machines. I also felt the same way. Anyway, I have now come up with the best
and easiest way to explain everything about setting up the Cricut machine.
Let’s delve into the blog below, and let me guide you through setting up the
machine in no time. I will explain for Windows computers only. Let’s get
started!
Step 1: Unboxing Your Cricut Product

Before the Cricut setup, you need to unbox your machine. Inside the machine,
you will get many items, including accessories. Have a look at the following
list of items:
●
Cricut
Machine
●
Welcome Book
●
Rotary Blade
With Drive Housing
●
USB Cable
●
Power
Adapter
●
Free Trial
Membership to Cricut Access
●
Premium
Fine-Point Blade With Housing
●
Fine Point
Pen (Black)
●
Materials
For A Practice Project
●
Warranty
Document
●
Fabric Grip
Machine Mat
●
Lightgrip
Machine Mat
●
50 Free
Ready-To-Make Projects, Including 25 Sewing Patterns

Step 2: Power on the Cricut Machine
First,
you need to plug the power cable into the Cricut machine. Then, plug the other
end of the cord into the power wall outlet. Now, you have to pull the lid to
open it gently. Afterward, remove all the foam pieces from the clamps. Next,
hit the power button on the top of
your machine. Once you have turned on the machine, proceed to the following
step.

Step 3: Connect Cricut to a Computer via Bluetooth
Establishing
a connection is a must for the Cricut
setup. Let’s connect the Cricut product to the PC using Bluetooth. Although
we can connect Cricut with a USB cable, I often prefer a wireless connection.
- Head to the Windows icon on the taskbar.
- Click on it and select a gear-like icon,
i.e., your Settings > Devices.


- Then, select Add Bluetooth or other device.
- Next, click on the Bluetooth option and let your PC
find your Cricut machine.

- Once your Bluetooth detects the
machine, click on the model name from the list.
- Now, you have connected your
Cricut to a Windows computer via Bluetooth.
Step 4: Downloading the Cricut Software
Here
are the steps to download the Cricut Design Space app, which is a must-have
software for the Cricut setup:
- Head to the browser search bar and type the
URL design.cricut.com.
- Next, tap on the Enter key on your keyboard.
- Later, you will go to a page where you must
select a checkbox.
- Now, click on the Download tab to download & install the Cricut app.
- Once the download has begun, follow the
instructions on the display to install the application.
Once
you have downloaded the app, you need to connect your Cricut to your Windows
computer using Bluetooth.
Step 5: Creating a Cricut Account ID
Now,
let’s create a Cricut account, which is essential for the Cricut setup. Below, I have explained everything stepwise to make
you understand easily:
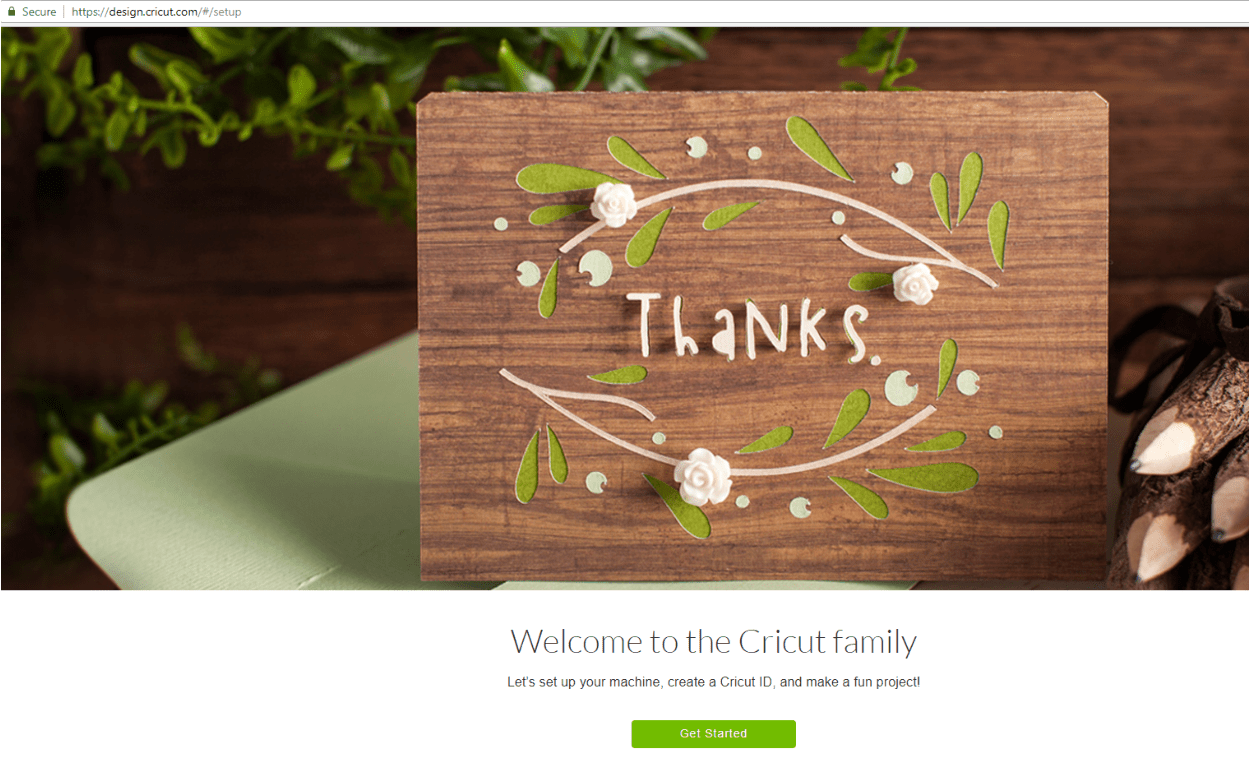
- Visit
design.cricut.com on your internet browser.
- Then, click on the Get Started button on the screen.

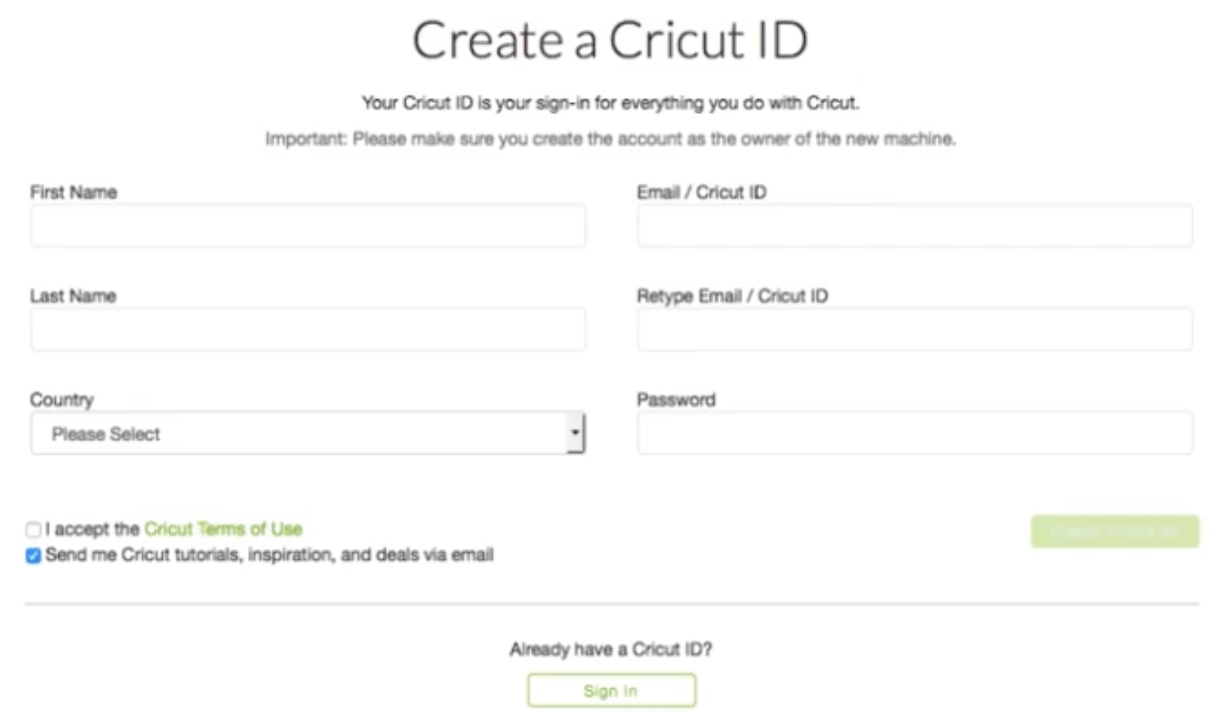
- Enter your details, including
your name, last name, and email address. Also, select a country such as
the United States, Canada, and the United Kingdom.
- Here, you will need to read the Cricut terms of use and click on
the checkbox to accept it.
- If you want to receive Cricut
tutorials, you will need to check the box that says Send me Cricut Tutorials, inspiration, and deals via email.

- Once everything is done, click on
Create User ID.
- Lastly, you will be asked some
questions, answer them, and proceed by following all the prompts.
FAQs
Question 1: What do I need to do for Cricut
setup?
Answer: If you are setting up your Cricut machine, you will need
to do the following:
- First, you must connect your Cricut to a
computer or smartphone using Bluetooth or USB cable. However, you can’t
connect to a smartphone with a USB cable.
- Second, you need to download the software to
setup your Cricut machine.
Question 2: How to sign in to a Cricut account?
Answer: Signing to your Cricut account is a breeze. To sign in,
you need to follow the steps below.
- Open an internet browser.
- On its search bar, you have to search for design.cricut.com.
- Then, enter the email and password.
- Finally, you need to hit the Sign In tab.
Question 3: How to get my Cricut ID and
password back?
Answer: In case you have forgotten your Cricut account password,
you have to hit the Forgot Password link.
You will need to link on the sign-in page on cricut.com, Design Space, or Design Space mobile apps. You will get
an email with a link to reset the password.
Visit - Install Cricut Design Space App


Comments
Post a Comment