How to Use Cricut Mug Press: Create a DIY Craft
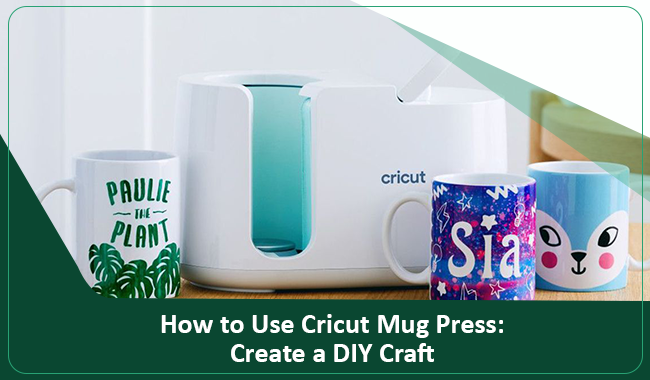
Hey, fellow crafters! Do you want to learn how to use Cricut Mug Press and create awesome projects? If yes, then I am going to help with every crucial information and process to make a custom cup art. The Cricut Mug Press is an easy-to-use machine that helps in achieving brand-like results without prior experience.
However, new users who do not know where to start might need some guidance. As a result, I will give you a stepwise guide to setting up the Mug Press machine and getting the essential supplies before starting to work on the project. So, walk through the whole content carefully and create your first-ever customized mug project now.
Steps to Setup Cricut Mug Press on a Computer
Here are the steps you have to follow to set up your Cricut Mug Press machine.
- Initially, go to the Cricut official website on your Mac or Windows computer.
- From the website, you have to download and install the Cricut Design Space app.
- If you already have the Cricut Design Space app on your device, then open it.
- On the app, use your Cricut account credential to sign in. (If you do not have an account, then choose the option to make a new Cricut ID).
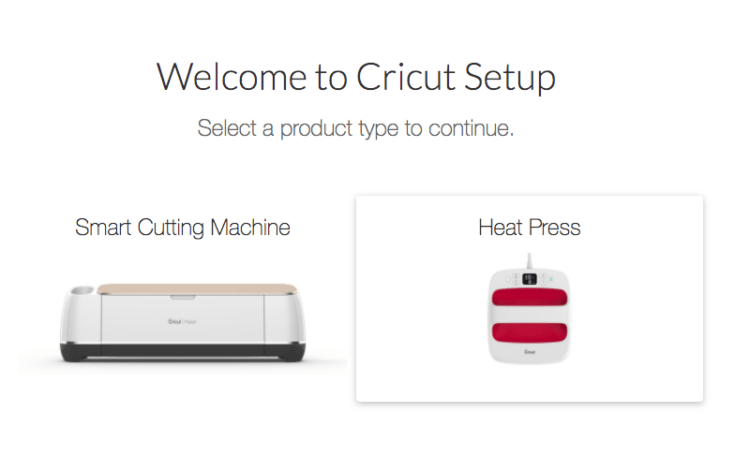
- Then, the Welcome to Cricut Setup page will appear on the display; choose the options Heat Press > Cricut Mug Press.
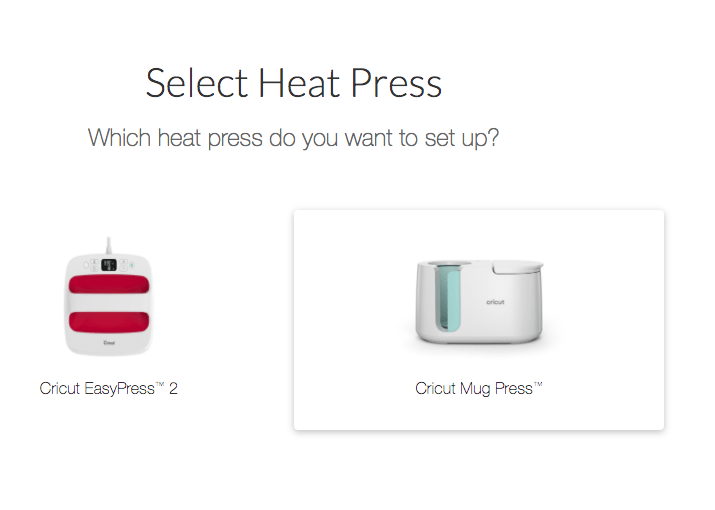
- Now, perform the prompts on your screen to finish the Mug Press connection process.
- Click on the Get Started option when the machine setup is complete and create a mug design.
Materials You Will Need for Creating a Personalized Mug
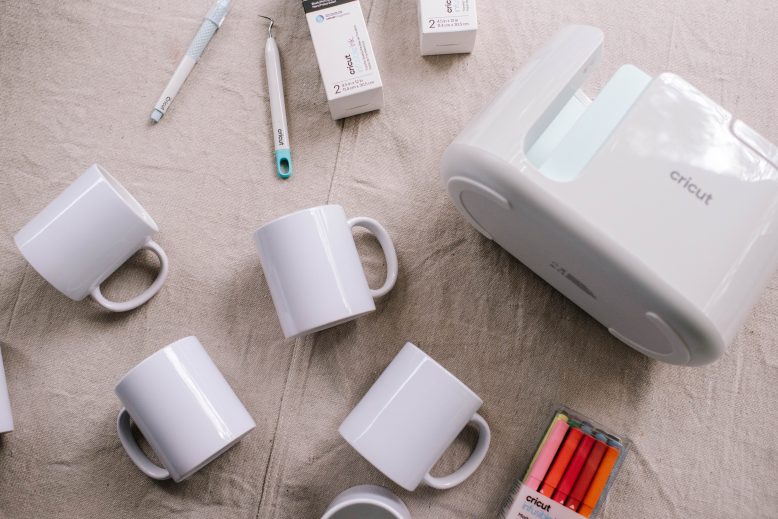
In order to learn how to use Cricut Mug Press, it is necessary to know what essential supplies you require. Let’s see what supplies you require for this project.
- Cricut Mug Press machine
- Any Cricut cutting machine (I am using the Cricut Maker 3 machine)
- Cricut EasyPress mat or towel
- Cricut Infusible ink
- Weeding tool
- Cricut StandardGrip Mat
- Cricut ceramic blank cup, and others.
The Process to Create DIY Mugs Using Cricut Mug Press
If you are sure your Cricut Mug Press setup process is complete and you have all the vital supplies, then you can start working on the project. Here is a simple step-by-step guide on how to use Cricut Mug Press to create a DIY craft.
Step 1: Creating a Design for Your Cup
- In order to create a customized cup project, the first process involves creating the design.
- For that, you have to launch the Cricut Design Space app on the device to which your cutting machine is connected.
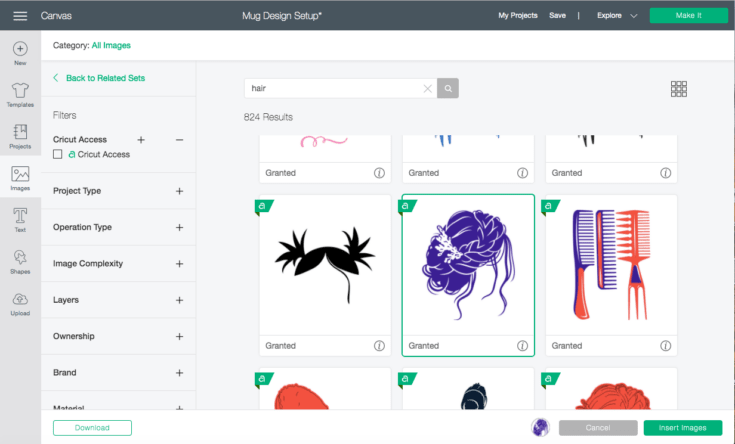
- You are free to use images, patterns, texts, or even upload your design/image. (If you are making a text design, then don’t forget to mirror the design.)
- Now, you can send the design for the cut when it is complete.
Step 2: Cutting Your Design With a Cricut Cutting Machine
- Take your infusible ink sheet and lay it on the Cricut mat.
- Next, carefully load the mat onto your Cricut cutting machine.
- And then, head back to the Cricut Design Space app to choose your cutting machine and material.
- After that, follow the instructions and click on the Make It option.
- Then, the machine will start cutting the design on your device.
- Once the design cut is complete, unload the mat and infusible ink sheet and remove the extra parts with the help of the weeding tools. Now, move to the 3 steps to finish the process of how to use Cricut Mug Press.
Step 3: Transferring the Design to Your Cup
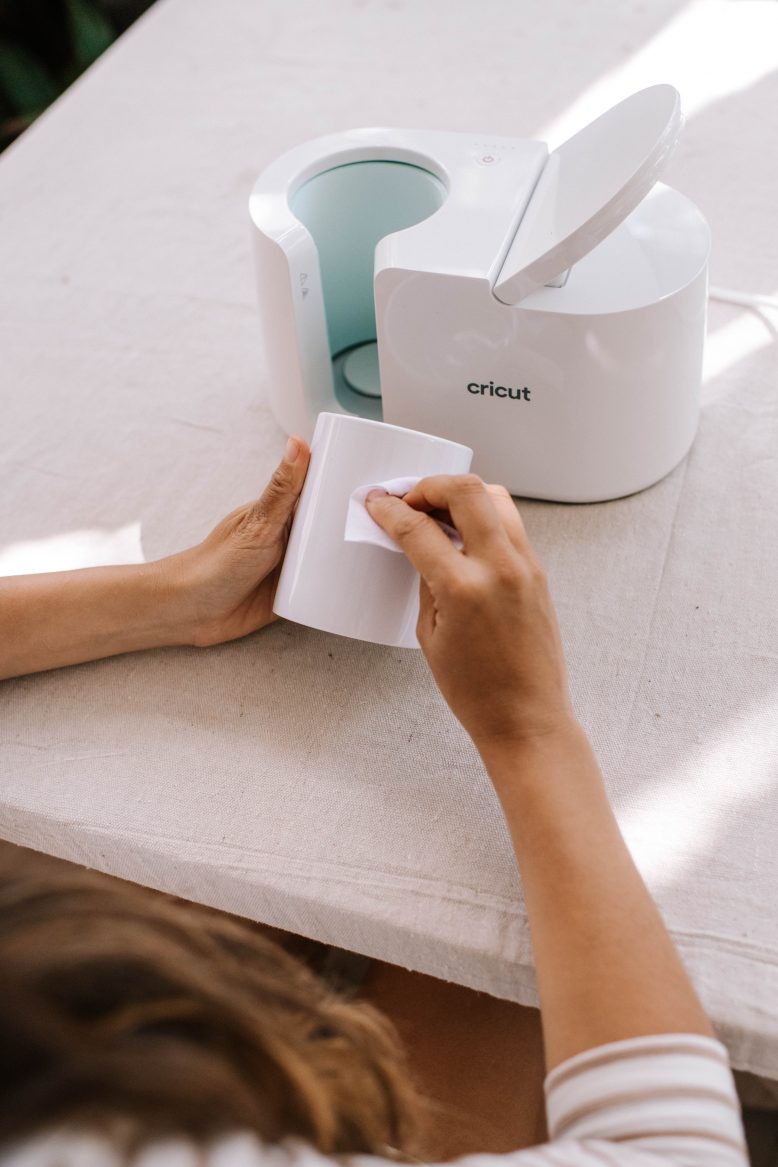
- With the help of a clean cloth and lint roller first you have to clean the dust off the Cricut cup blank. (If the cup has dust or dirt, then the design will not come out perfectly.
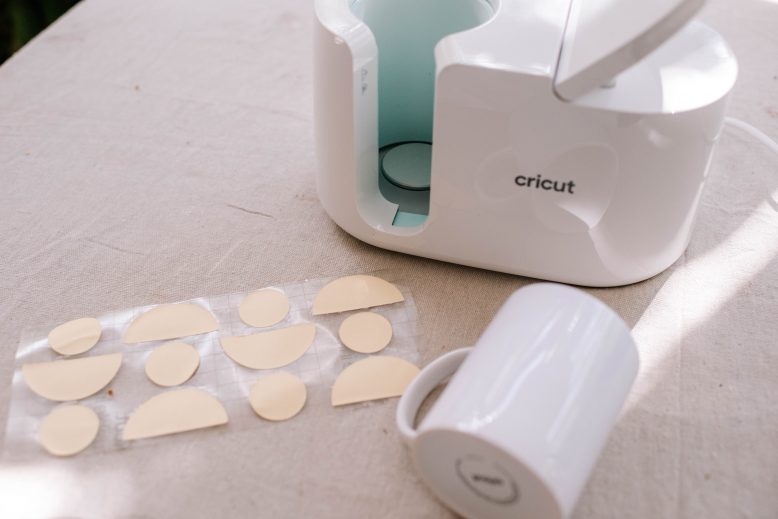
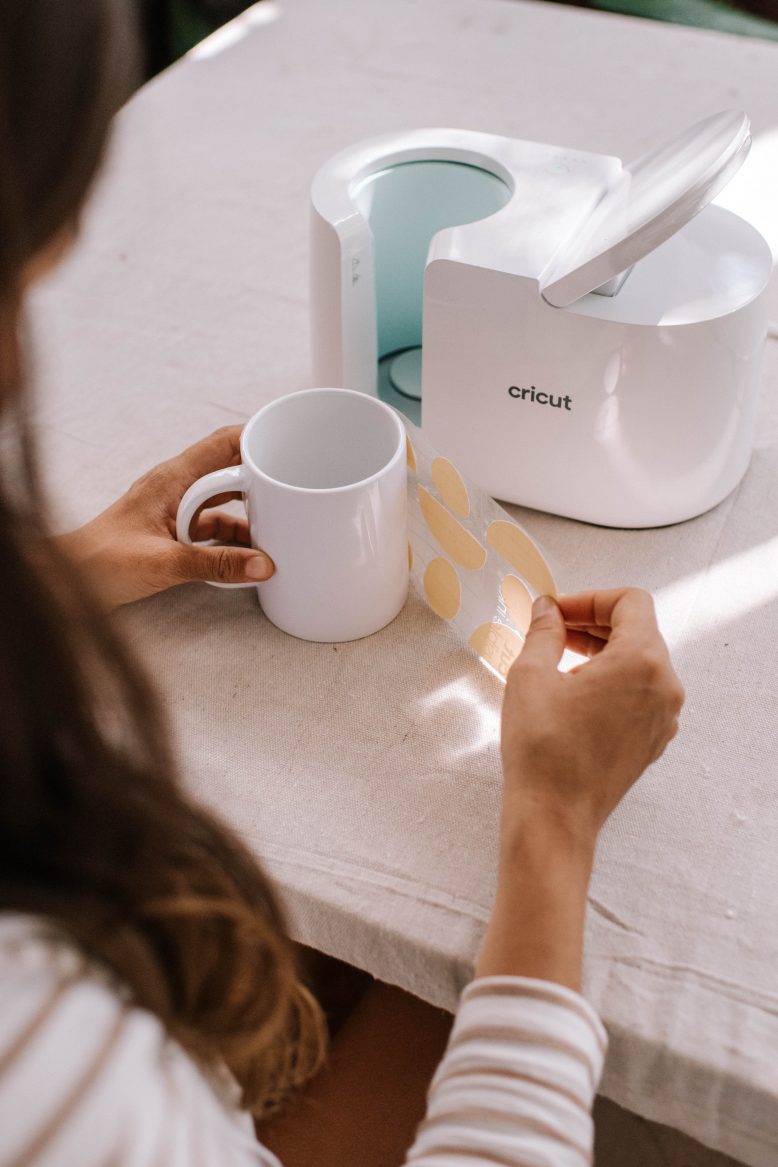
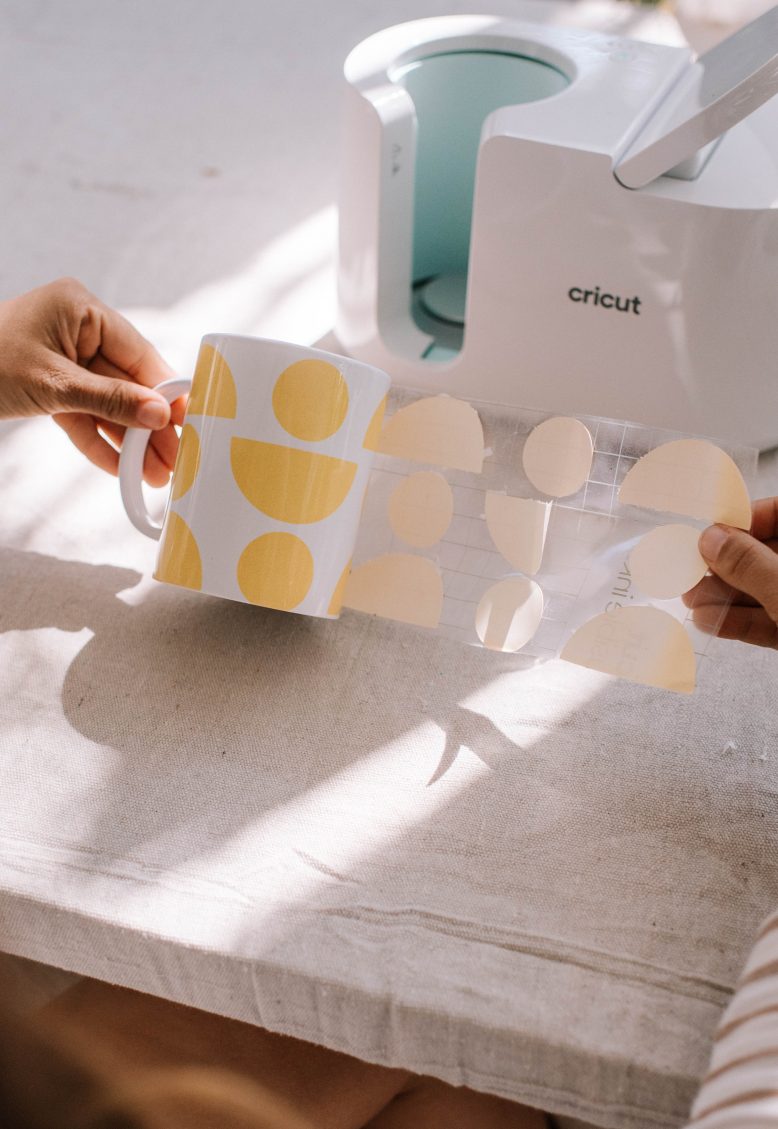
- Now, take the design sheet and carefully wrap it around the cup. (Make sure the design perfectly fits on the cup and is in a straight line.)
- Moreover, load the cup into your Cricut Mug Press machine properly, as shown in the follow-up image.
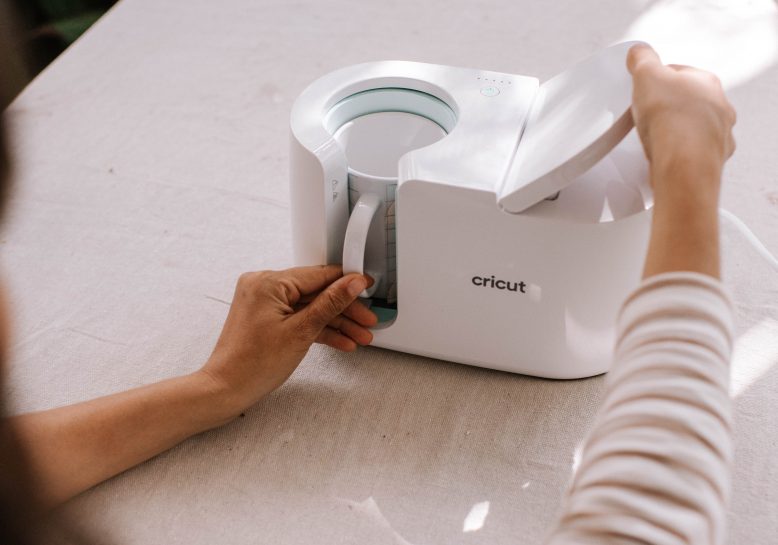
- Afterward, the machine will start to make a beep sound, and the power button will start to flash.
- Now, lift the machine lever to start the machine and then turn it off when the heat press is complete.
- Once the process is complete, remove the cup from your Cricut Mug Press machine and remove the transfer sheet.
- Here you go; your DIY cup project is complete.
- You can use the same guide to create a variety of other customize cup designs.
Frequently Asked Questions
These are the complete steps to create a DIY project with the help of a Cricut Mug Press machine and infusible ink.
- For the first step, you have to set up the Cricut Mug Press machine. (Also, set your cutting machine)
- On the Cricut Design Space app, choose the design, text, or ready-to-make project.
- After that, cut the design on an infusible ink sheet with a cutting machine.
- Next, apply the sheet to the cup when the cut is complete.
- Now, insert the cup into your machine and then transfer the design.
- Finally, your cup design will be complete.
Cricut Mug Press is an advanced and easy-to-use machine that provides pro-level cup art. This machine works with the other cutting machine to complete the project. Its simple features make it beneficial to use even if a crafter is a complete beginner. With the help of this machine, carters can explore their crafting passion or set up a small business to earn some extra cash. If you want to create brand-like, long-lasting designs on the cup, then the Cricut Mug Press is a great option.
Here are the basic supplies a crafter must have when they want to create a project with a Cricut Mug Press machine. Also, keep in mind that the supplies can vary according to the design you choose.
● Cricut cutting machine (Cricut Joy, Explore, or Maker)
● Cricut Mug Press machine
● Weeding tool
● Cricut StandardGrip Mat
● Cricut ceramic blank cup
● Cricut Infusible ink
● Cricut EasyPress mat or towel, and others.
Source URL: - How to use Cricut Mug Press
Visit - Cricut Design Space app
Cricut Mug Press setup process



Comments
Post a Comment